
Donating online is easy!
Please note: Depending on your web browser and monitor size, your screen may look different than the provided screenshots.
Click below to be taken to the tutorials on these steps:
Navigating to the Donation Page
Creating a Profile
Creating a Donation Transaction
Editing or Deleting a Transaction
Navigating to the Donation Page
On the “Donate Online” page on the PCUCC website, click the text “Simply click here to set up your one-time or recurring donation.”
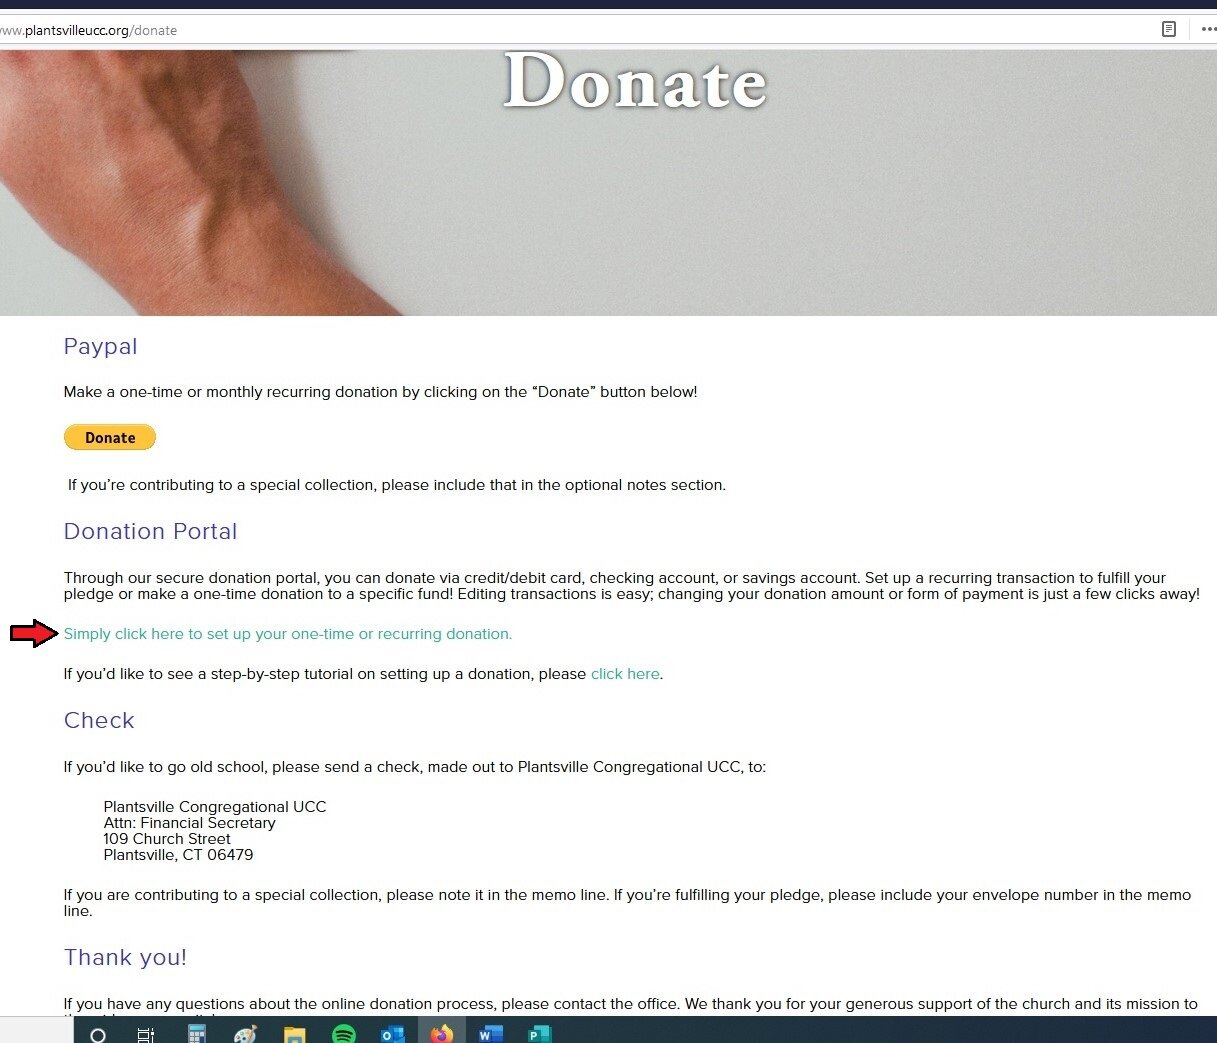
You will be taken to the donation landing page.

Creating a Profile
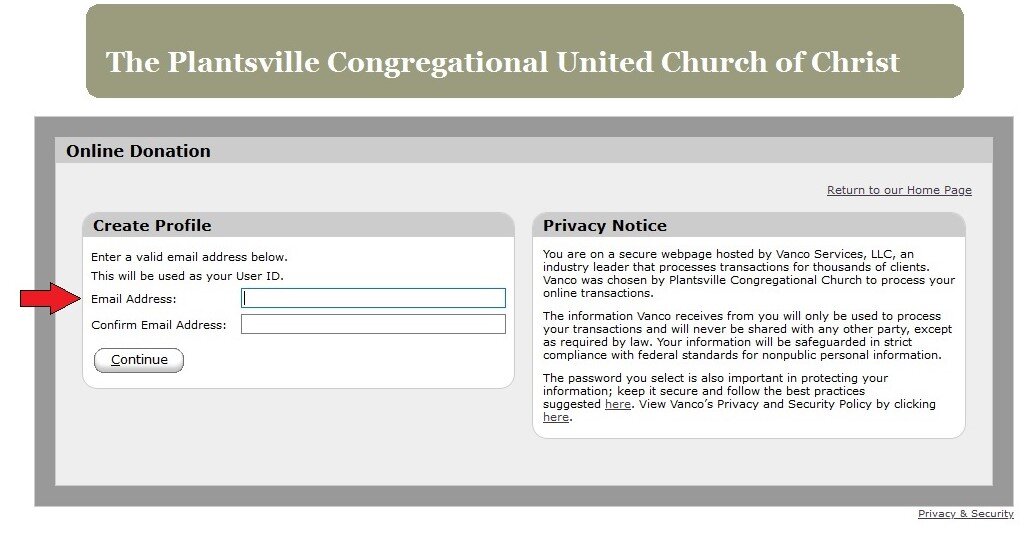
If you already have an account, fill in your email address and password, then click “Log In.” (See blue arrow.) If you have forgotten your password, click “Forgot your Email Address or Password?” Then enter the email address you used to create the account. You will be sent an email with instructions on resetting your password.
If you do not have an account, click “Create Profile.” (See red arrow.)

Enter and confirm the email you would like to use for your account, then click “continue.”
Fill in the required information, then hit “continue.”

You will be brought to the main navigation page of your new account.
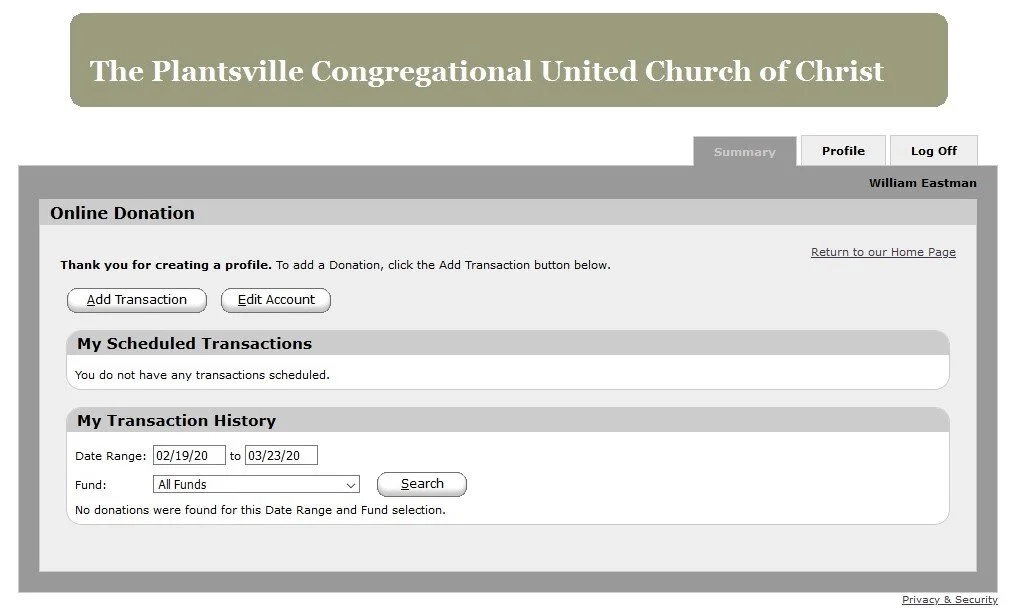
Creating a Donation Transaction
Click “Add Transation.”

Fill in how much you would like to donate and to which fund. If you are fulfilling your pledge, enter how much you would like to donate under “General Fund” (red arrow).
If you would like to donate to other funds as well, fill in the appropriate box. The total dollar amount of your donation will be under “Total” (blue arrow).

Choose how often you would like this donation to occur in the drop-down menu. You may make it one time, weekly, or monthly.
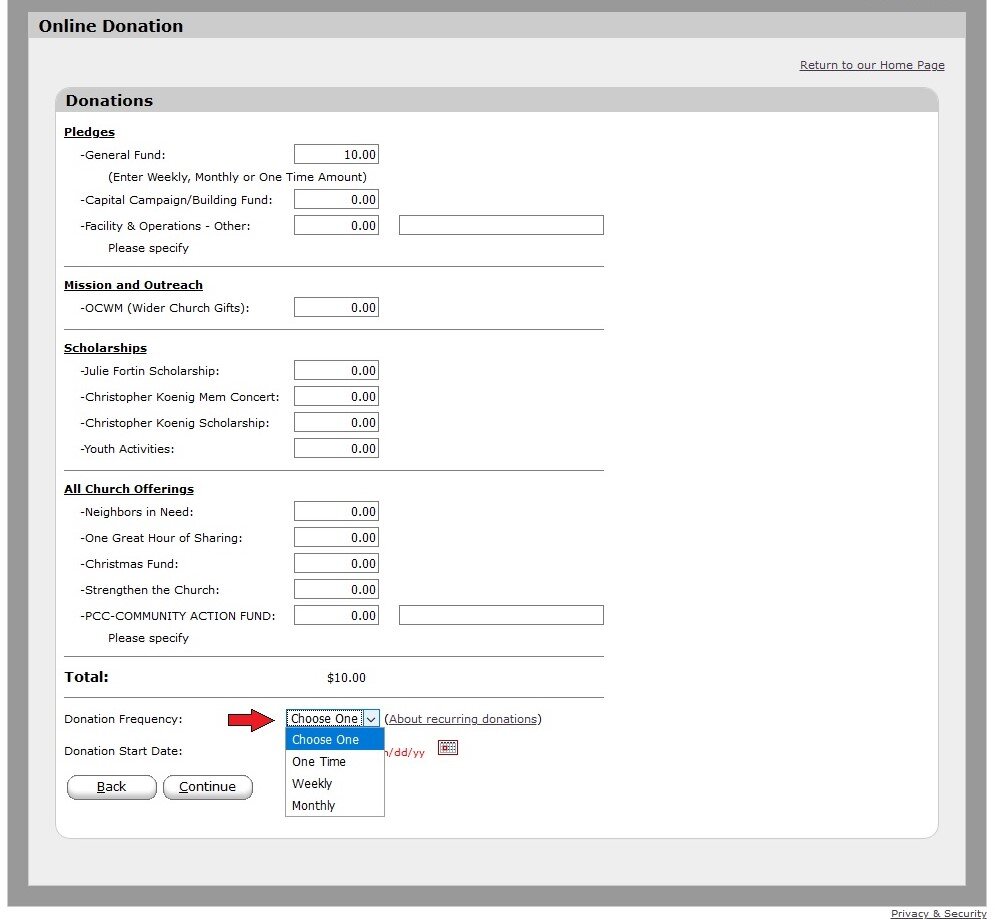
Choose when you would like the donation to be processed. It will automatically be set to the current date, but you can choose a future date by clicking the calendar icon (red arrow).
Once you are satisfied, click “Continue” (blue arrow).

On the next screen, you will a summary of the transaction (red box) and be asked for your payment information. To set up a payment method, use the “Account” drop-down menu (blue arrow) to choose if you would like to use a credit/debit card, checking account, or savings account. Once you’ve entered your payment information and checked “I’m not a robot,” click “Process" (green arrow).

You will see a “thank you” page with a summary of your donation (red box). You will also receive this information via email.

Editing or Deleting a Transaction
On the main menu, you will see a list of your transactions. There will be an option to edit or delete your transaction (red arrow). If you click edit, you will return to the donations page prepopulated with the numbers you had originally chosen. You can edit the numbers in this screen. If you would like to delete the transaction, hit “delete” and confirm.
